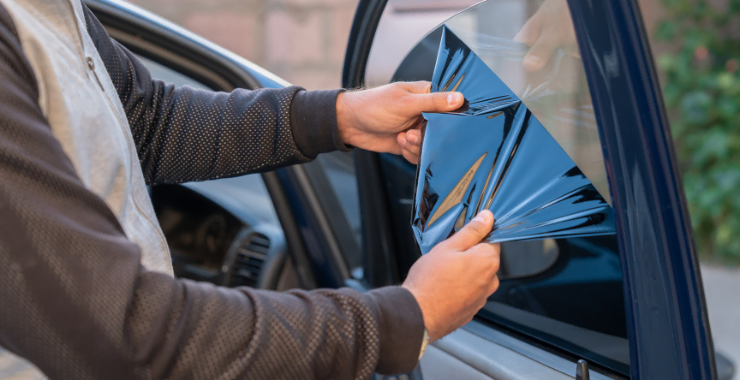
Removing window tint from your car can be necessary for various reasons – from fading and bubbling to meeting legal requirements. Taking off old, damaged tint can improve visibility, aesthetics, and resale value. New tint may also be an option later. First, let’s look at why tint removal may be needed.
Why Remove Window Tint From Your Car?
Fading and Discoloration
Window tints fade and discolor over time from sun exposure. Purple, blue, or black films can turn brown or gray. This damages the look of your car.
Bubbling and Peeling
As tint ages, bubbling between the film and glass can occur. Cracks also form leading to peeling. This affects visibility and safety.
Cracking and Scratching
Tint can become brittle and crack as the adhesive underneath deteriorates. Scratches also accumulate on the surface from normal wear.
Legal Regulations
Local tint laws dictate allowable visible light transmission percentages. Old tint may not meet updated regulations. Fines can result if stopped.
Removing old, defective tint provides benefits like:
- Improved outward visibility and safety
- Better aesthetics
- Higher resale value
- Compliance with tint laws
New tint can also be installed later for UV protection and privacy. First, preparation is needed.
Considering new tint? Learn How Long Does It Take to Tint a Car?

Preparing for Tint Removal
Gather Supplies
- Razor blade for scraping
- Steamer to heat tint
- Heat gun or hair dryer
- Ammonia and soapy water solutions
- Plastic bags
- Gloves, eye protection
Protect Interior
Cover seats, carpets, and dash from debris and chemicals. Mask trim with painter’s tape.
Check Regulations
Review state and local tint laws on allowable visibility percentages.
Tint Removal Techniques
Using a Steamer
- Heat sections of tint with a steamer. This loosens the adhesive underneath.
- Carefully lift a corner and peel off tint slowly in larger pieces.
- Go over the window to remove any remaining tint bits.
- Clean adhesive residue thoroughly with soapy water solution.
Ammonia and Plastic Bag Method
- Spray window tint with ammonia cleaning solution. This weakens the adhesive.
- Cover the windows completely with plastic bags.
- Park the car in direct sunlight. The greenhouse effect heats up the ammonia to react faster.
- After a few hours, peel off the tint slowly. Scrape any remaining pieces.
- Clean the adhesive residue with soapy water and scrub with a towel.
Heat Gun or Hair Dryer Technique
- Use a heat gun or hair dryer to warm the tint gently in small sections. Don’t overheat.
- Once warm, slide a razor blade under the corner and slowly peel back.
- Apply heat and peel gradually across the window surface.
- Remove leftover adhesive with a vinegar solution or adhesive remover.
Dealing with Stubborn Tint and Adhesive
- For small leftover tint pieces, scrape gently with a new razor blade.
- Apply adhesive remover or solvent like WD-40 to dissolve glue residue.
- Use fine steel wool or a plastic scrub pad to rub residue away.
Avoiding Common Tint Removal Mistakes
Rushing – Work slowly and carefully. Rushing it can harm windows or leave adhesive behind.
Neglecting Defroster Lines – Use lower heat and peel delicately around rear defroster lines to avoid damage.
Wrong Tools – Certain tools work better with specific tint types. Test first.
Adhesive Residue – Ensure glue is completely removed or new tint won’t adhere properly.
When to Consider Professional Tint Removal?
While DIY tint removal is possible, professionals may be best for:
- Difficult removal jobs
- Preventing damage to windows
- Ensuring no tint or adhesive remains
- Saving time and frustration
They have commercial steamers, specialty scrapers, and strong solvents for guaranteed, fast results. Compare costs of professional vs DIY tinting.
Maintaining Windows After Tint Removal
Once tint is removed:
- Clean inside and outside windows thoroughly
- Inspect for any remaining tint bits or adhesive
- Check for scratches or cracks
- Consider quality new tint for UV and heat protection
Proper care preserves clarity and prevents reapplying tint soon.
Removing old, defective window tint restores visibility, aesthetics, and value to your car. Careful DIY removal is possible with the right techniques. Or professionals can guarantee fast, complete removal. New tint can then be installed if desired. Maintain your windows properly afterward.
